Celebrating A Milestone 70th Birthday With Cheerful Daisies and Sweet Bumblebees

This post may contain affiliate links, which means that I will receive a small commission at no extra cost to you if you decide to make a purchase. Thank you for keeping this little blog up and running!

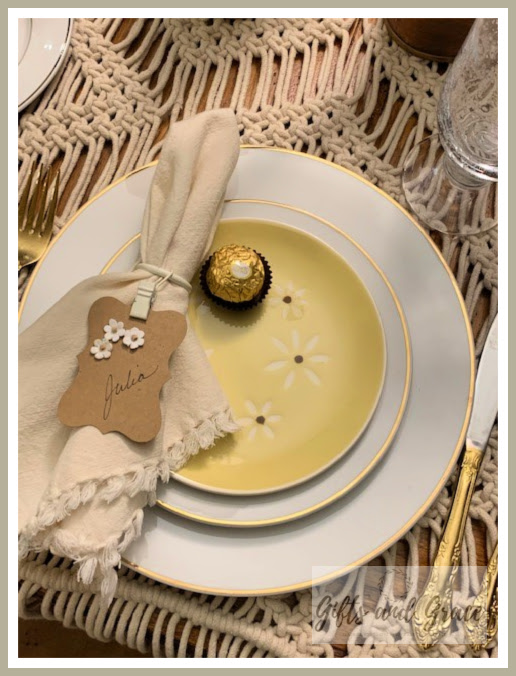
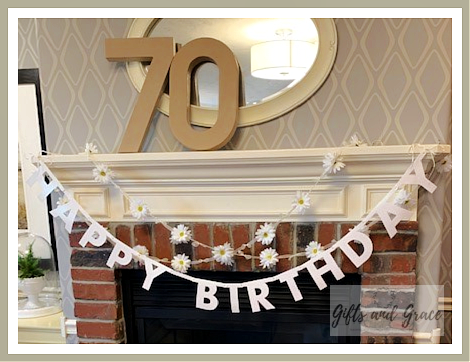
Daisies and bumblebees

Turning 70 is something to be celebrated! I believe that birthdays are a complete gift and that we should embrace each one.

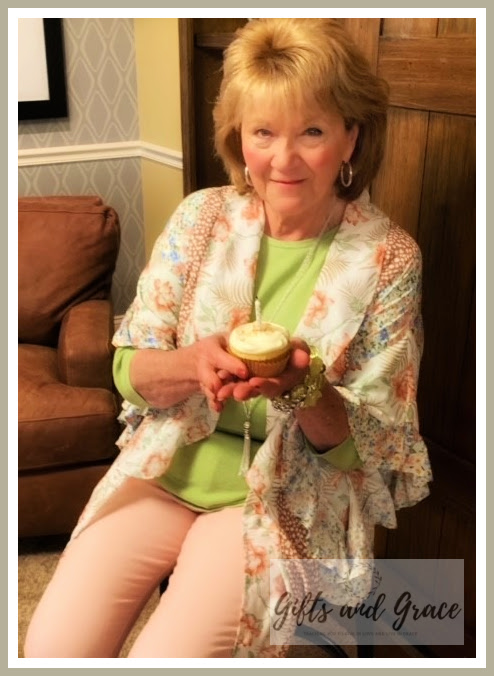
This time the birthday girl was my beautiful momma. She goes by “GB,” which is short for “Grandma Betty.”

My sister and I were delighted to host a small gathering with some of her closest friends.

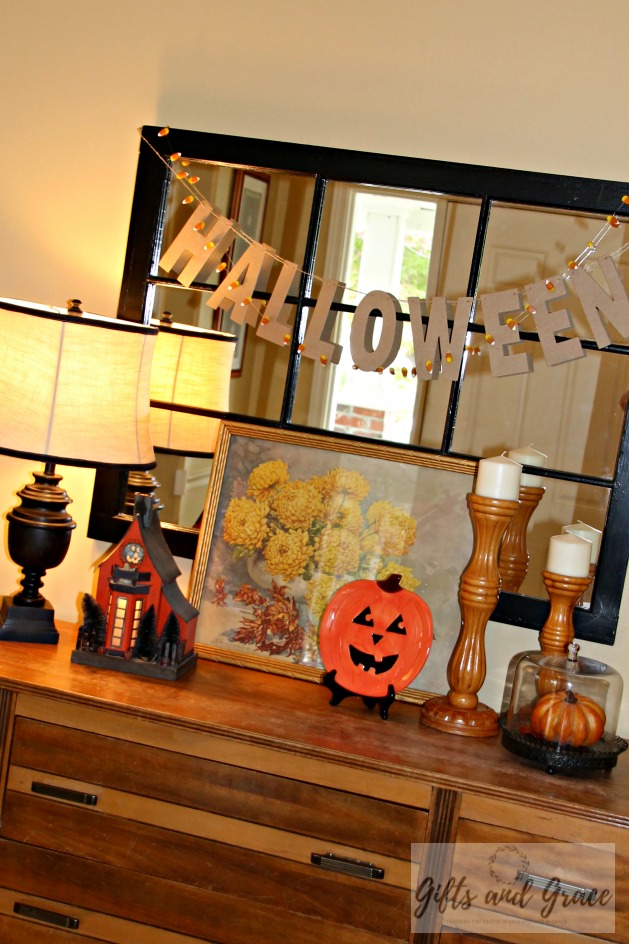
You may be figuring out that the first step for me with any event is to find inspiration pieces to set the mood.

Because her first initial is a “B,” GB has a little soft spot for bumblebees. And with an April birthday, her birth flower is the daisy, which she also loves. So daisies and bumblebees it was!


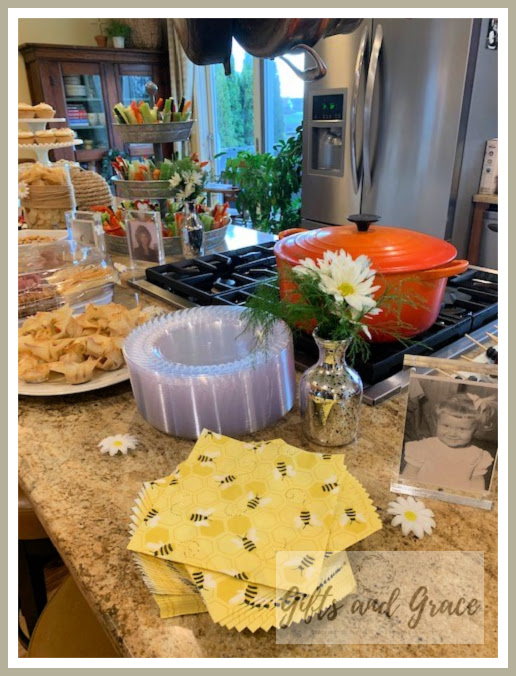
I was so excited to find these darling bumblebee napkins. The fresh daisies and greens were ordered from a local florist and arranged in small mercury glass vases.
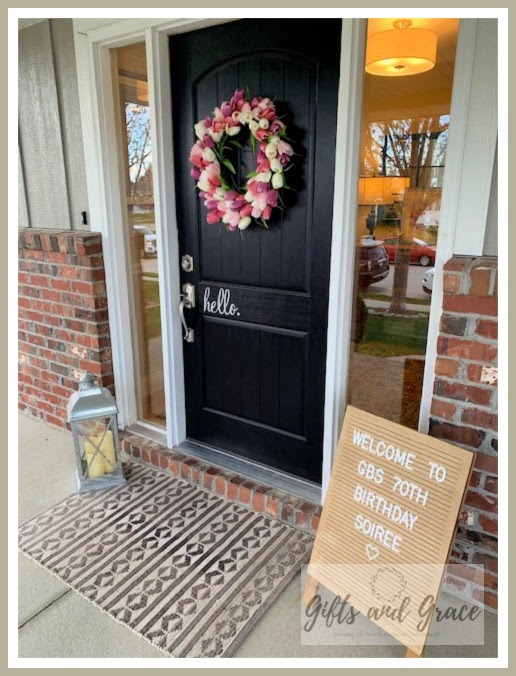
Greeting Our Guests

It is always important to make your guests feel welcome. A great sandwich board sign greeted them at the front door. As they entered, we asked them to write a little note to the birthday girl on something special and simple that I put together.

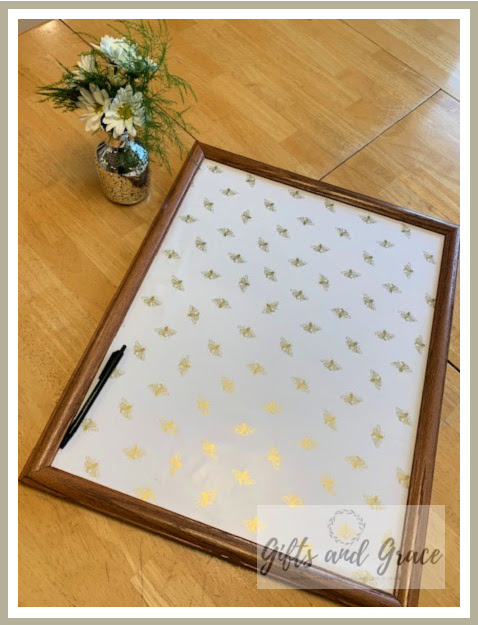
An old frame becomes art when filled with this beautiful bumblebee wrapping paper and signed by treasured guests.

Our local thrift shop is a treasure trove for old frames. Don’t look at what is inside them. Just look for quality frames in a good size. You will be discarding the inside anyway for this small project.

The first step is simply to remove the back and the glass from the frame. If the back is nice and smooth, you can use it for the next step. If not, cut a thick piece of poster board to fit inside your frame.

You will then cut a piece of your favorite wrapping paper the same size as your frame back or poster board and glue it onto your blank surface using a glue stick so that there are no bumps in the surface once it has dried.

When choosing wrapping paper, choose one that will be easy to write on.  A light color works great if you will be using a pen. A dark color would also be lovely if you use a gold or silver pen. Just make sure the surface isn’t too slick, or the writing will smear.

Now just pop everything back together, omitting the glass until after the party! Once your guests are done signing inside the frame, the glass can be put back in, and your guest of honor can find a special place to hang the memory.

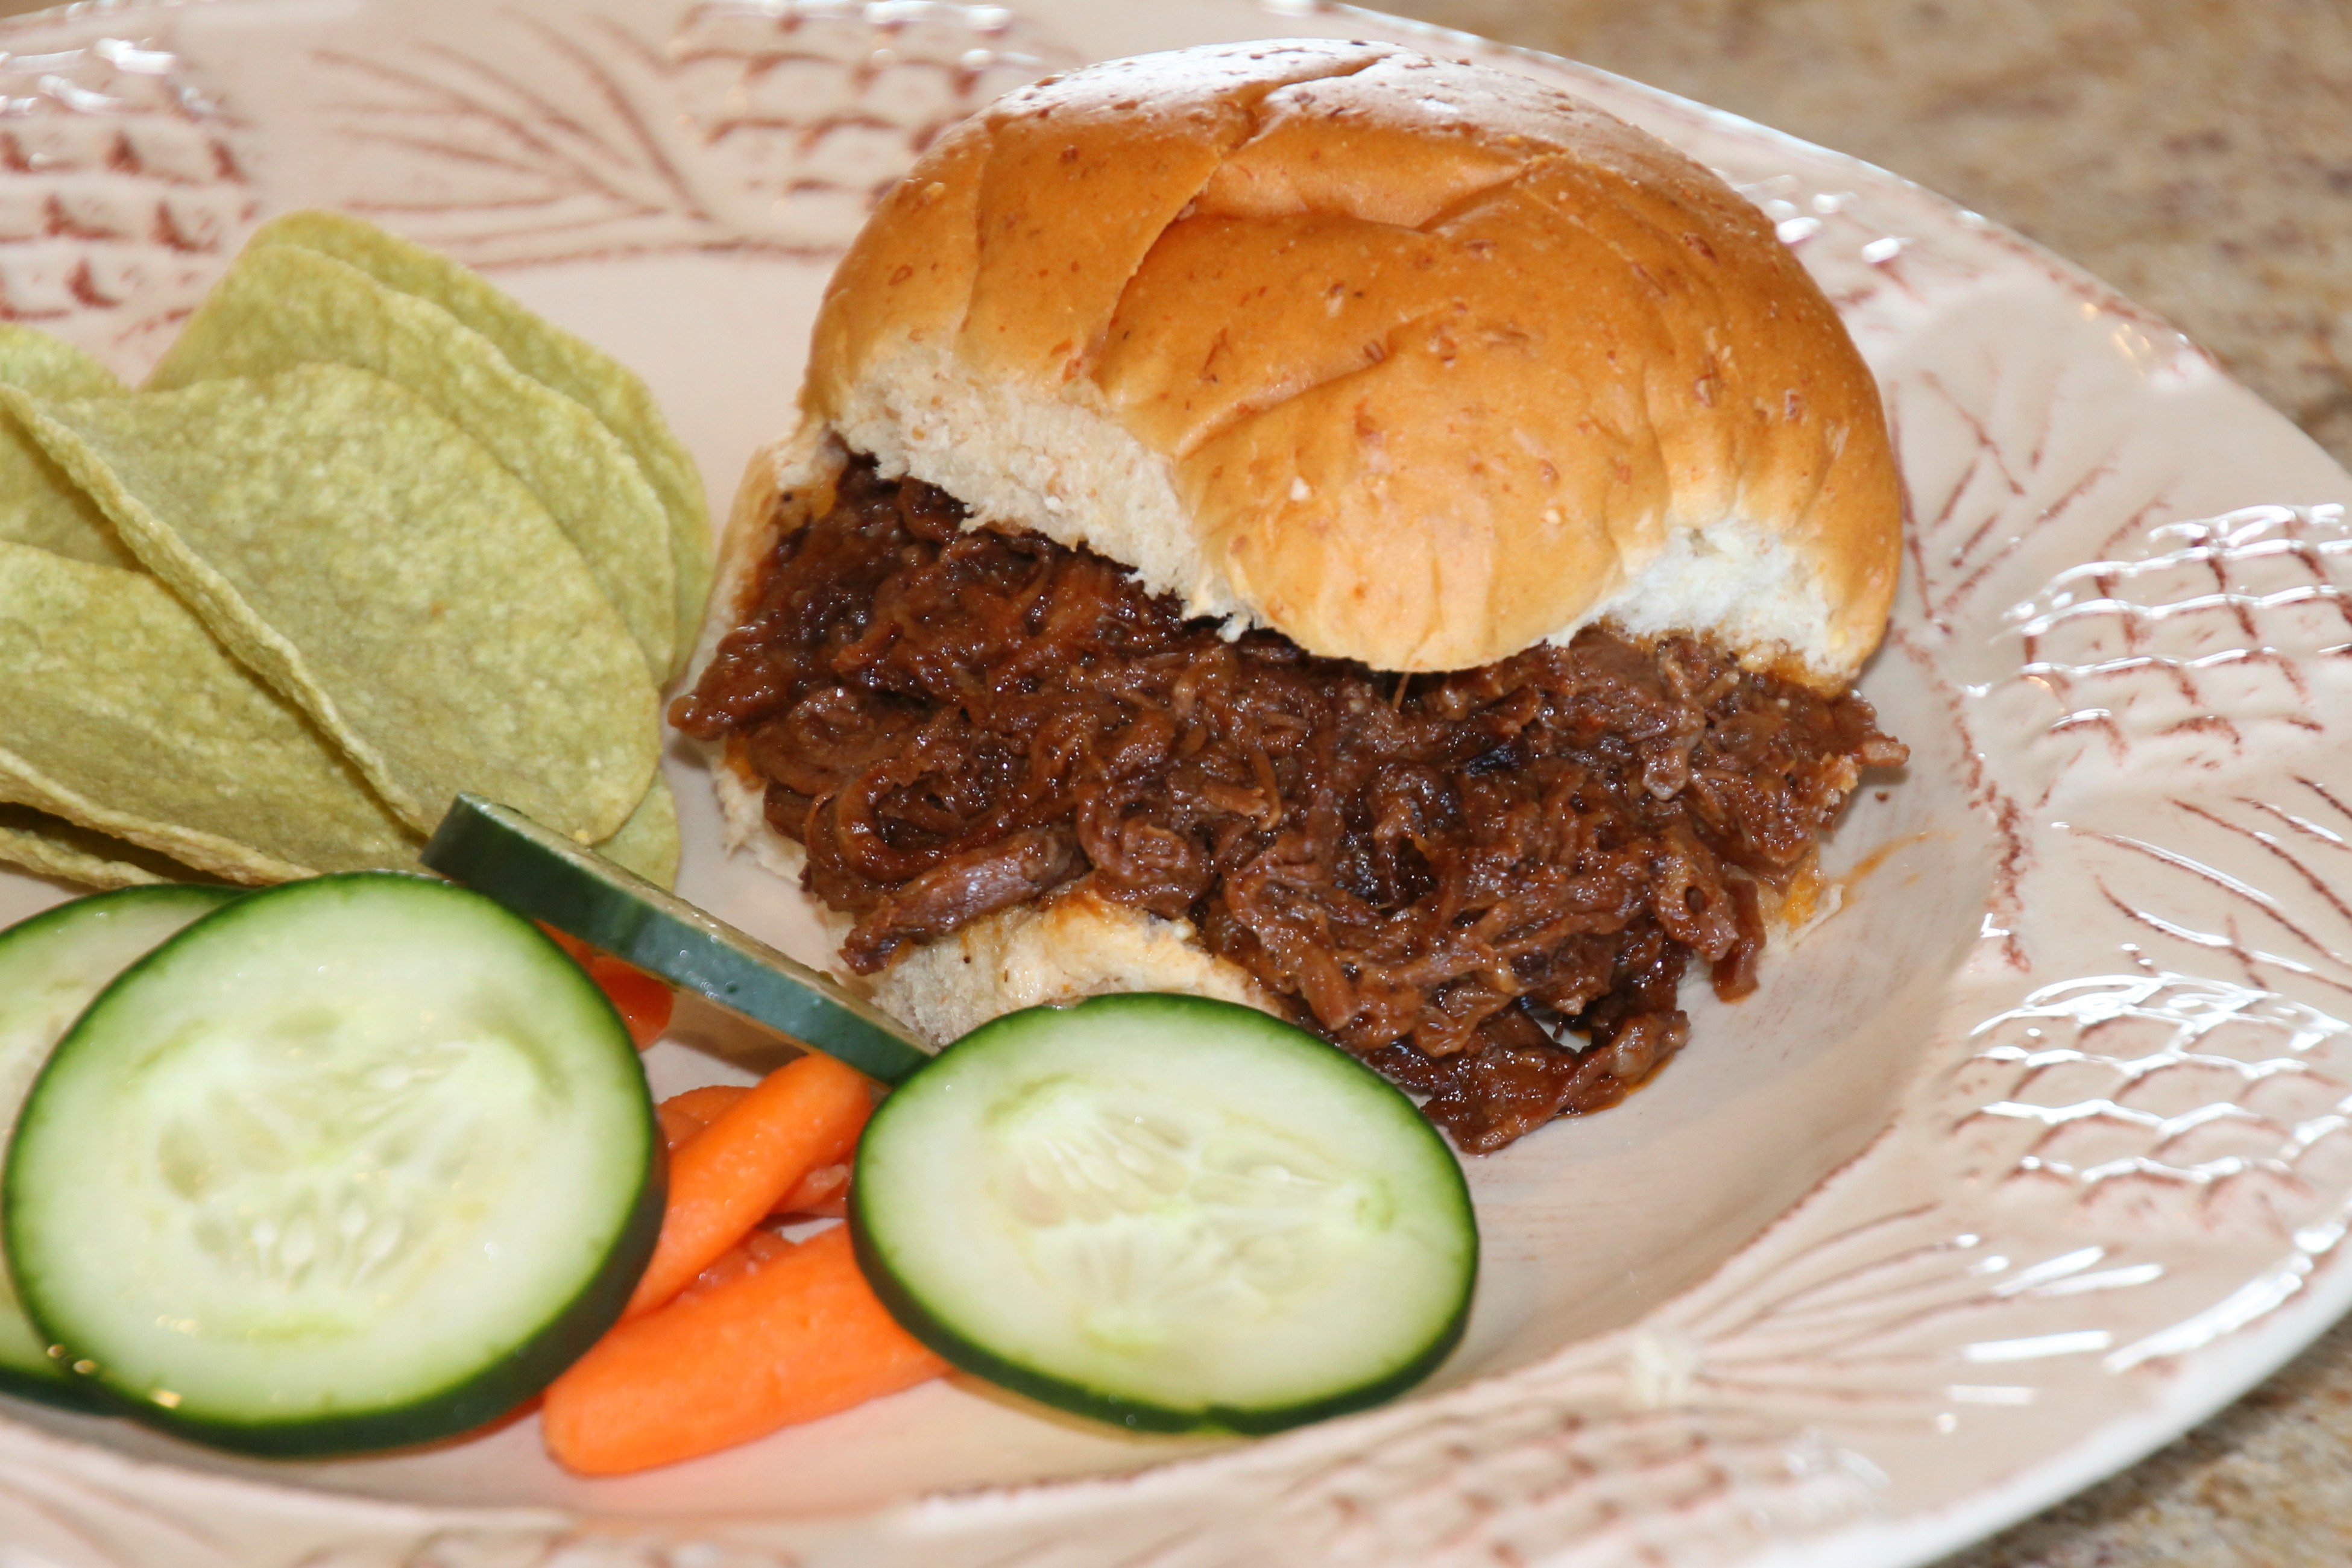
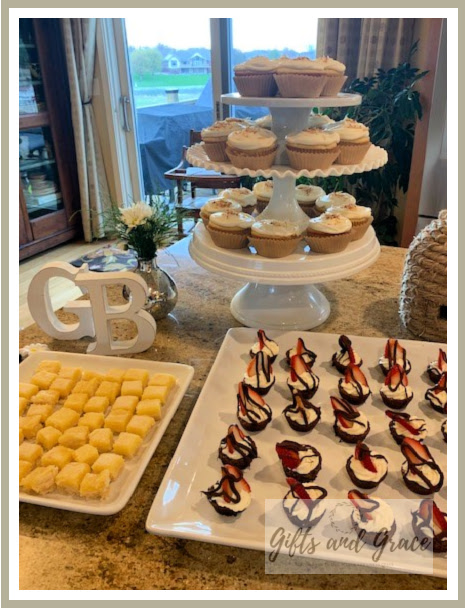
A Little Something To Eat

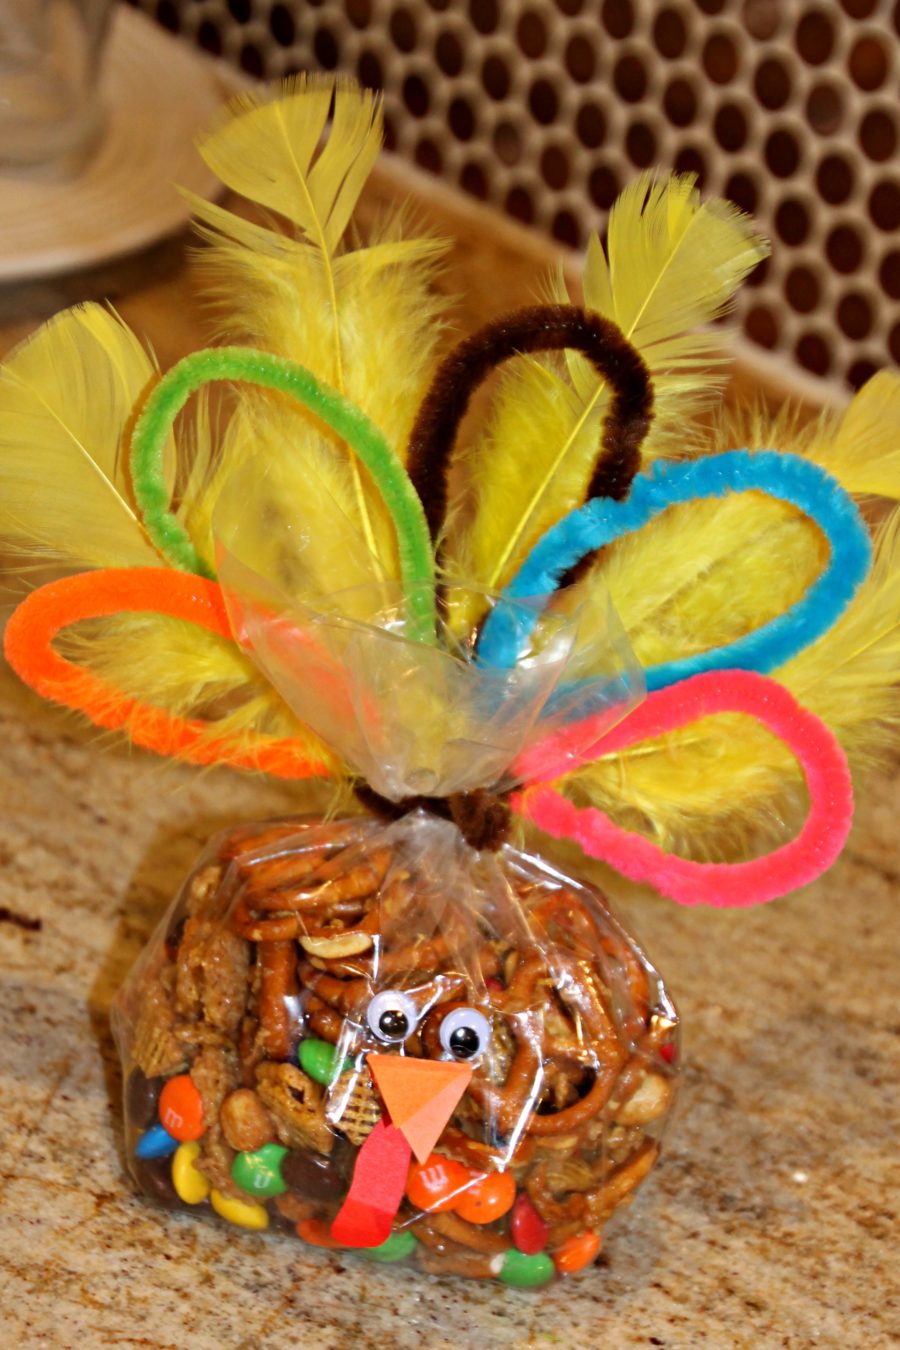
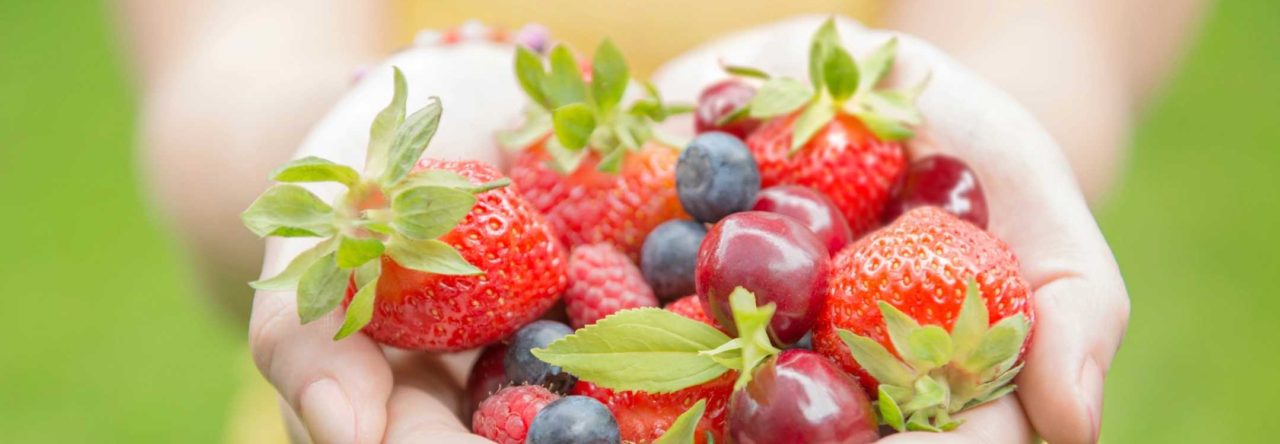
We decided to serve light appetizers: fruit skewers, veggie cups, sausage and cheese wonton cups, and black bean and corn salsa.

We purchased some items and made the rest. We provided mostly items that were individual servings.

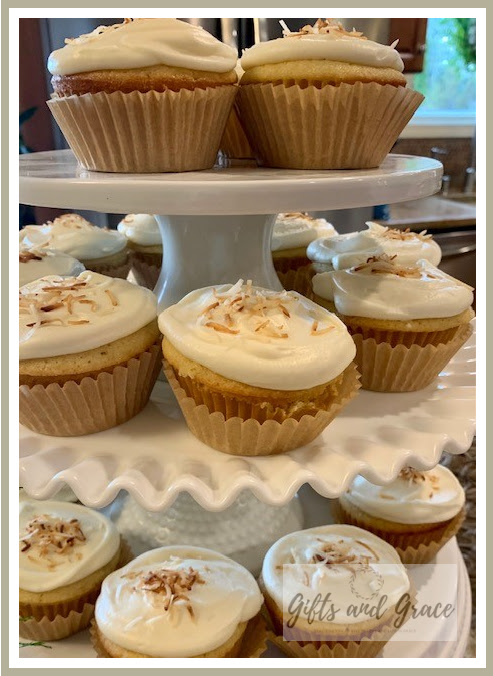
We also had three choices for desserts with different flavors: coconut, lemon, and chocolate.

It looks like we have enough food for 100, but we tend to overdo it in our family!!

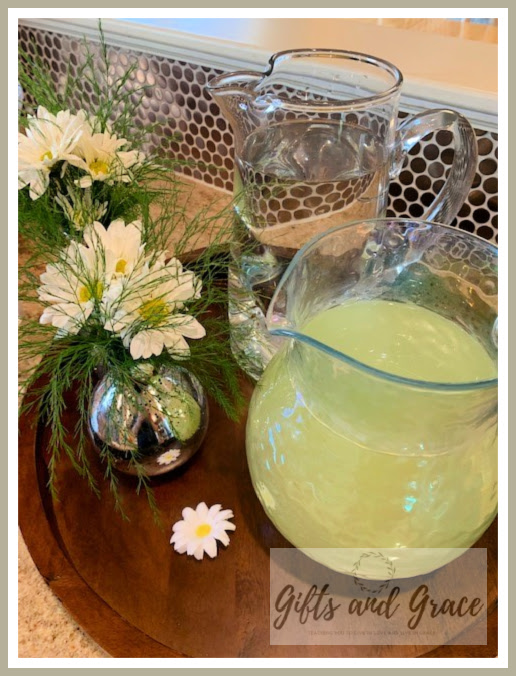
We had lots of options for beverages!
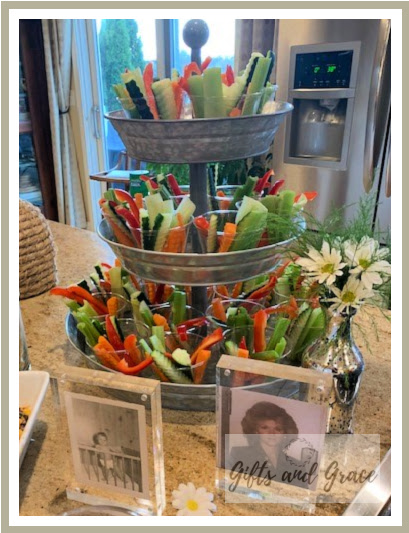
The Birthday Girl

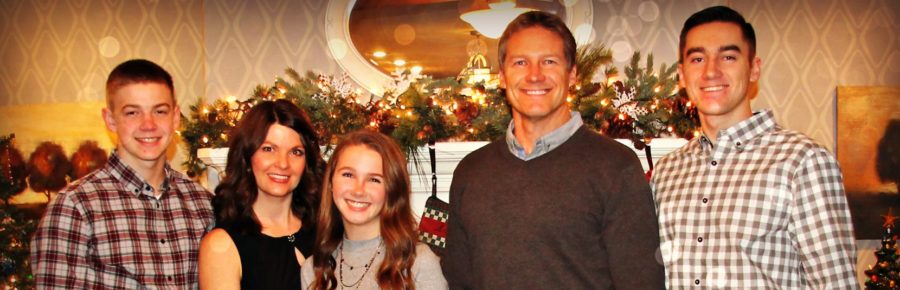
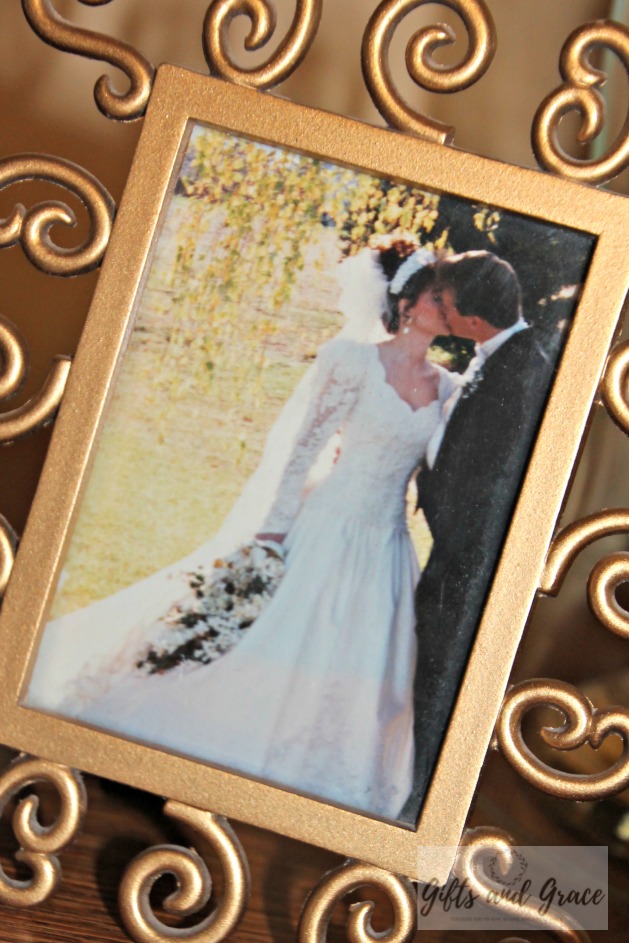
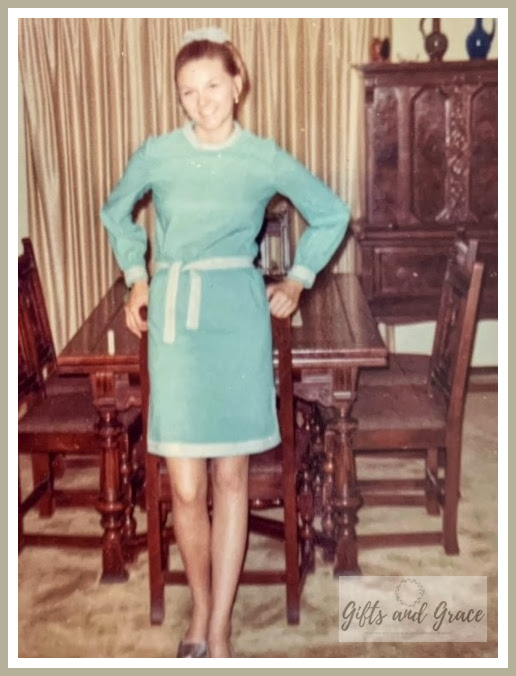
We sprinkled a few photos of our special guest around the food display. She has been adorable since the beginning!

I just have to share one from the summer after she graduated from high school. 🙂 I just love this pic!!!

We had the most wonderful evening celebrating the birthday girl. Get to know her and find all kinds of fantastic recipes on GB’s blog, GB’s Kitchen. I promise you will love it! Please check it out and let me know what you think.

Happy Birthday, GB!

There is nothing better than celebrating the ones you love. Celebrate big! God bless.

P.S. I have included links to some products that you can purchase if you were inspired by this party!


Set An Absolutely Enchanting Table To Celebrate The First Signs of Spring

It’s Spring!

Spring has sprung here in Nebraska! The first little blooms are peeking up out of the ground, and the lawn is getting greener each day. The trees are showing signs of the most beautiful shade of green before they explode into full leaves.

The reawakening of the Earth this season is so inspiring! I couldn’t help but use that inspiration to set a lovely little spring table for an intimate luncheon with loved ones.

It all started with some precious yellow plates and an antique Royal Copley bird planter which were both given to me by my momma years ago.

Create An Easter Tablescape With Sweet Little Nests

To New Beginnings

It is almost Easter week, and I looooooove Easter! Last year I picked up some fun, colorful nests at Hobby Lobby. I have been itching to put together a beautiful Easter table using them as inspiration.

I took a two-year hiatus from this blog, and I have missed it and all of you. It was time for a fresh start, and setting a pretty table for one of my favorite holidays is a fantastic place to start!

My Inspo

Aren’t these gorgeous? They are available again this season at Hobby Lobby, so you still have plenty of time to grab them before next Sunday!

A Christmas Card Story

This post may contain affiliate links, which means that I will receive a small commission at no extra cost to you if you decide to make a purchase. Thank you for keeping this little blog up and running!

My Christmas card is almost always sent AFTER Christmas. It is more of a New Year’s card. I guess this is partly due to procrastination, partly to the lack of a nice family photo, and because I use this as a tiny yearly journal of our family’s activities, I like to wait until the last tiny bit of our year has been spent. 🙂 This year’s card had a little God moment that I wanted to share.

A Sweet & Salty Trail Mix Turkey

Thanksgiving is almost here! I have a fantastic trail mix recipe that is perfect for munching on while you are waiting for the turkey or during the big game. This recipe has been in my collection since my Bunco days. (Does anyone still play?)  One of my Bunco buddies would set a bowl of this at each table in some adorable way. It is salty and sweet and ridiculously addicting…..not exactly healthy, but hey, it does have peanuts! 🙂

Slow Cooker Beef BBQ Sandwiches

It is slow cooker season at our house. I do pull it out occasionally during the warmer months, but it definitely makes more of an appearance over the fall and winter. It is almost Turkey Day, but today I am sharing a recipe that calls for beef. I have been using it for about 20 years! My sister submitted it to the cookbook that our family’s business put together way back in 1998 for the 10-year anniversary of our Betty Jane’s gift store. I am going to guess that you will have almost every single ingredient in your freezer and your pantry. It is crazy simple and full of flavor. It is perfect for one of those nights when your family is eating in shifts. (Basically, most nights around here!)

Winter arrived early

November snow

This is what it looks like already! Perfect weather for a warm slow cooker dinner.

Time for a warm dinner

You will need a nice beef roast, a little water and the ingredients that you see here.

Beef Barbecue Sandwich recipe

You can tell I have used this cookbook a bit! Half of the binder is gone. That is one of my momma’s little line drawings of a sweet little Native American doll our wholesale business used to sell.

All I do is place my roast at the bottom of the slow cooker and add all of the ingredients over the top of it. (The recipe above shows a slightly different way to do it.) Yesterday I let it cook on high for most of the day. Then I just shredded the meat and removed any fat. We normally serve this with buns for sandwiches, but we had a few mashed potatoes left over, so I spooned mine over the top of the potatoes. It was heavenly.

Beef Barbecue Sandwich

Can’t you almost see the rich flavor of this meat?

Here is a printable recipe for you. I hope you try it!!!

Beef BBQ Sandwiches

This is a wonderfully hearty shredded beef recipe full of rich flavor.
5 from 1 vote

Ingredients
  

  • 1 3-4 pound beef roast
  • 1-2 cups water
  • 3/4 cup ketchup
  • 3 tbsp worcestershire sauce
  • 2 tbsp butter (melted)
  • 2 tbsp brown sugar
  • 2 tbsp vinegar
  • 1 tbsp minced onion
  • 1 tbsp beef base
  • 1 tbsp dry mustard
  • 1 tsp salt
  • 1/4 tsp pepper
  • Seasoned salt to taste (I used Lawry's.)
  • a few drops of hot sauce

Instructions
 

  • Place roast in the slow cooker. Stir together the remaining ingredients and pour over the top of the roast. Cook on low overnight. Shred and remove any fat for serving.

If you are interested in purchasing the Betty Jane’s cookbook, just email my momma at bjstreff@gmail.com, as she just had some fresh copies printed a short time ago. They are $16, the same price as in 1998, and $3 will ship one anywhere in the United States. There aren’t many left, so get yours today!!!

By the way, I have missed y’all. We have been traveling a bit for kiddos’ activities, and I have been having computer issues. It is good to be back!! God bless!


Another Halloween Home Tour…….Mine

Halloween is less than a week away. Today I am sharing the little touches I add to my fall decor for the holiday. For some reason, this is not nearly as easy for me to share as it was to gush over my momma’s and my sister’s. I have a pretty subtle approach to my decor and a fairly warm, neutral palette….greens, blues and coppers. I especially love to decorate this time of the year because of the traditional, earthy colors used.

Before I get started, I thought I would share a little Christian perspective on Halloween. I loved this post from lifeteen.com that answered a lot of questions for me. My main takeaway is that by participating in this holiday, it reminds us that God ALWAYS wins!! To quote the post, “Love triumphs over death, and…evil has no hold on us.” I will take any chance I get to put Satan in his place!!!

My Loves

Family pumpkin patch pic

We were lucky enough to enjoy our annual trip to a pumpkin patch on our wedding anniversary. Our college guy even joined us!

Our Front Porch

Front door mirrror decor

I refreshed my mirror on my front door this year with some new florals and ribbon. I love the way it shines when I pull up to the house.

Front porch display

See how my asparagus fern has turned a lovely golden color.

I am crazy about the layered rug trend. These were both Target finds.

A Few Touches Inside

Halloween entry display

My entry display on my antique buffet. I LOVE my candy corn garland.

Kitchen

The copper penny tile and golden tones in my kitchen were made for fall decorating.

Cake dome full of cookies

Fresh cookies, fresh flowers, fresh lemons and a cute little ghost. Does it get any happier?

Wooden jack-o-lantern

I usually add one or two new pieces each fall. This was this year’s Marshalls purchase. It was the only one they got. Lucky me! 🙂

One of our first Halloween pieces….probably at least 20 years old!

Ceramic jack-o-lantern

Another one of my original pieces. We sold these pumpkins and the Trick or Treat plate at our gift store back in the day!

Pumpkin candy jar

Always filled with our favorite candy pumpkins and trail mix with peanuts and m&ms. By the way, this makes a great hostess gift!

Fun in the Kid’s Space

Jack-o-lanterns

My kiddos’ trick-or-treat buckets. Mine is the little one at the top. It even has my name written in my young-girl handwriting on the bottom.

Skeleton

Keep them bones clean!!

Well, that’s it for now! I will be sharing some Thanksgiving touches soon, so stay tuned!!!

Be sure to subscribe to my email list so that we can become friends and share ideas!

Happy Halloween, and God bless!!

Week


Use That Wedding Memorabilia as Decor

This post was written Saturday, October 20th, but I was out of town and having trouble sending it!!

Today is the 23rd anniversary of our beautiful October wedding! By now you have probably all figured out how much I love fall, so planning our wedding during my favorite season just made sense. We are off to the pumpkin patch to go through haunted houses, so I am leaving you with a super simple post. I just wanted to show you how I still display a few pieces of memorabilia from our wedding 23 years later. They all sit atop the armoire in our bedroom, so they are literally some of the first things I see each day.

Fun With Outdoor Fall Decorating

Have you done some outdoor decorating for fall? It is feeling a bit more like the start of winter around here already! Hopefully all of our wonderful pumpkins will survive the cold for a bit longer. Remember my parents’ beautiful fall home tour full of antiques? Find it here for a refresher. Today I am finally going to share all of their great outdoor decor! They have a lot of fun with bales, corn shocks, pumpkins and gourds. They live just off of a busy highway. I hope that all of the people passing by get as much joy from seeing it as my parents do from creating it.

“…they rejoice before you as people rejoice at the harvest..” Isaiah 9:3

A Colorful Halloween House Tour

It is almost Halloween! We are in my favorite month of the year…..October. Beautiful October. I have always had a lot of fun with our kiddos preparing for Halloween festivities around here. Now they are BIG and don’t really dress up to trick-or-treat anymore. Oh well, I can still decorate!! You will get a peek at that later. Today, I am actually sharing my sister’s gorgeous home with you. I promised I would, and it is AWESOME at Halloween. She loves to decorate with COLOR….oranges and greens and teal blue….for every season….and it works!!  As soon as you step up to her home, you know that fun people live inside. 🙂 I love her little family so much. Check this out! She even made three beautiful babies with fantastic red hair. How is that for color?!? The good Lord knew what He was doing.

Page 1 of 4

Powered by WordPress & Theme by Anders Norén